Lavender, known for its delightful fragrance and stunning purple blooms, thrives in well-drained soil. Poor drainage can lead to root rot, which stunts growth and harms the plant. To ensure your lavender flourishes, there are several DIY drainage hacks you can use. Start by amending the soil with organic materials like sand or perlite to improve drainage. Excess water is drained away from the roots when lavender is planted in raised beds or on a slight slope. In the case of container-grown lavender, place a layer of gravel or pebbles at the bottom of the pot to prevent waterlogging. Drainage pipes or French drains can be installed in areas with poor soil drainage to direct excess water away from the plants. Avoid overwatering, and ensure that the soil is allowed to dry out between watering’s. All these will make your lavender remain healthy and vigorous, ensuring that it continues to bloom wonderfully.
Understanding Lavender’s Drainage Needs
A Mediterranean native, lavender is a drought-tolerant plant that has adapted to sandy, well-drained soils. This plant flourishes in soil that is loose and allows water to flow rapidly through it so that no stagnated moisture forms around its roots. In the wild, lavender is subjected to long dry spells and does not need constant watering, making it highly resistant to drought conditions. However, if lavender is cultivated in poorly drained soils, then water tends to collect around the roots, creating several problems that include fungal infections and root rot. These are conditions that significantly affect the plant’s health by causing it to wilt, lose its vibrant color, and ultimately die.


Key Takeaway: To replicate lavender’s natural environment and avoid water retention, it’s essential to plant lavender in soil that drains well. This can be achieved by incorporating sand, perlite, or gravel into the soil mix. Mimicking the conditions of its native habitat ensures that the plant can grow strong, healthy, and continue to produce its signature purple blooms year after year.
Raised Garden Beds
Raised garden beds are a great way to improve drainage for plants such as lavender, which prefer well-drained soil. This is because raised beds elevate the soil above the ground level, allowing excess water to flow away from the roots more efficiently. This is particularly beneficial in areas with poor drainage or heavy clay soils, which tend to trap water around the roots and lead to root rot. The perfect solution is given by raised beds, which let the soil dry out faster so that the roots of the lavender remain dry and healthy.
How to Do It
The bed can also be raised; a frame constructed of wood, bricks, or stones can support it. Height varies, but for lavender, 6 to 12 inches is good and works well as a bed depth. Once your frame is in place, fill the bed with a well-draining soil mix made up of sandy soil, compost, and a bit of gravel or perlite to ensure proper aeration. Lavender does not like to sit in overly moist soil, so it’s important to use a soil mix that promotes quick drainage. After planting your lavender, water sparingly. Lavender is drought-tolerant, and too much moisture can lead to problems. Allow the soil to dry out between watering’s to maintain optimal conditions.
Benefits
Raised garden beds offer several advantages for growing lavender. First, they keep the roots dry and healthy, which is essential for preventing root rot. Second, they give you better control over the soil quality, allowing you to adjust the mix for ideal drainage and nutrients. This is especially helpful in areas with heavy clay soil, which tends to retain water. Raised beds also make it easier to maintain the right conditions for your lavender by providing a defined space to care for it. Additionally, they improve air circulation around the plant’s roots, promoting healthy growth and vibrant blooms.
Soil Amendments
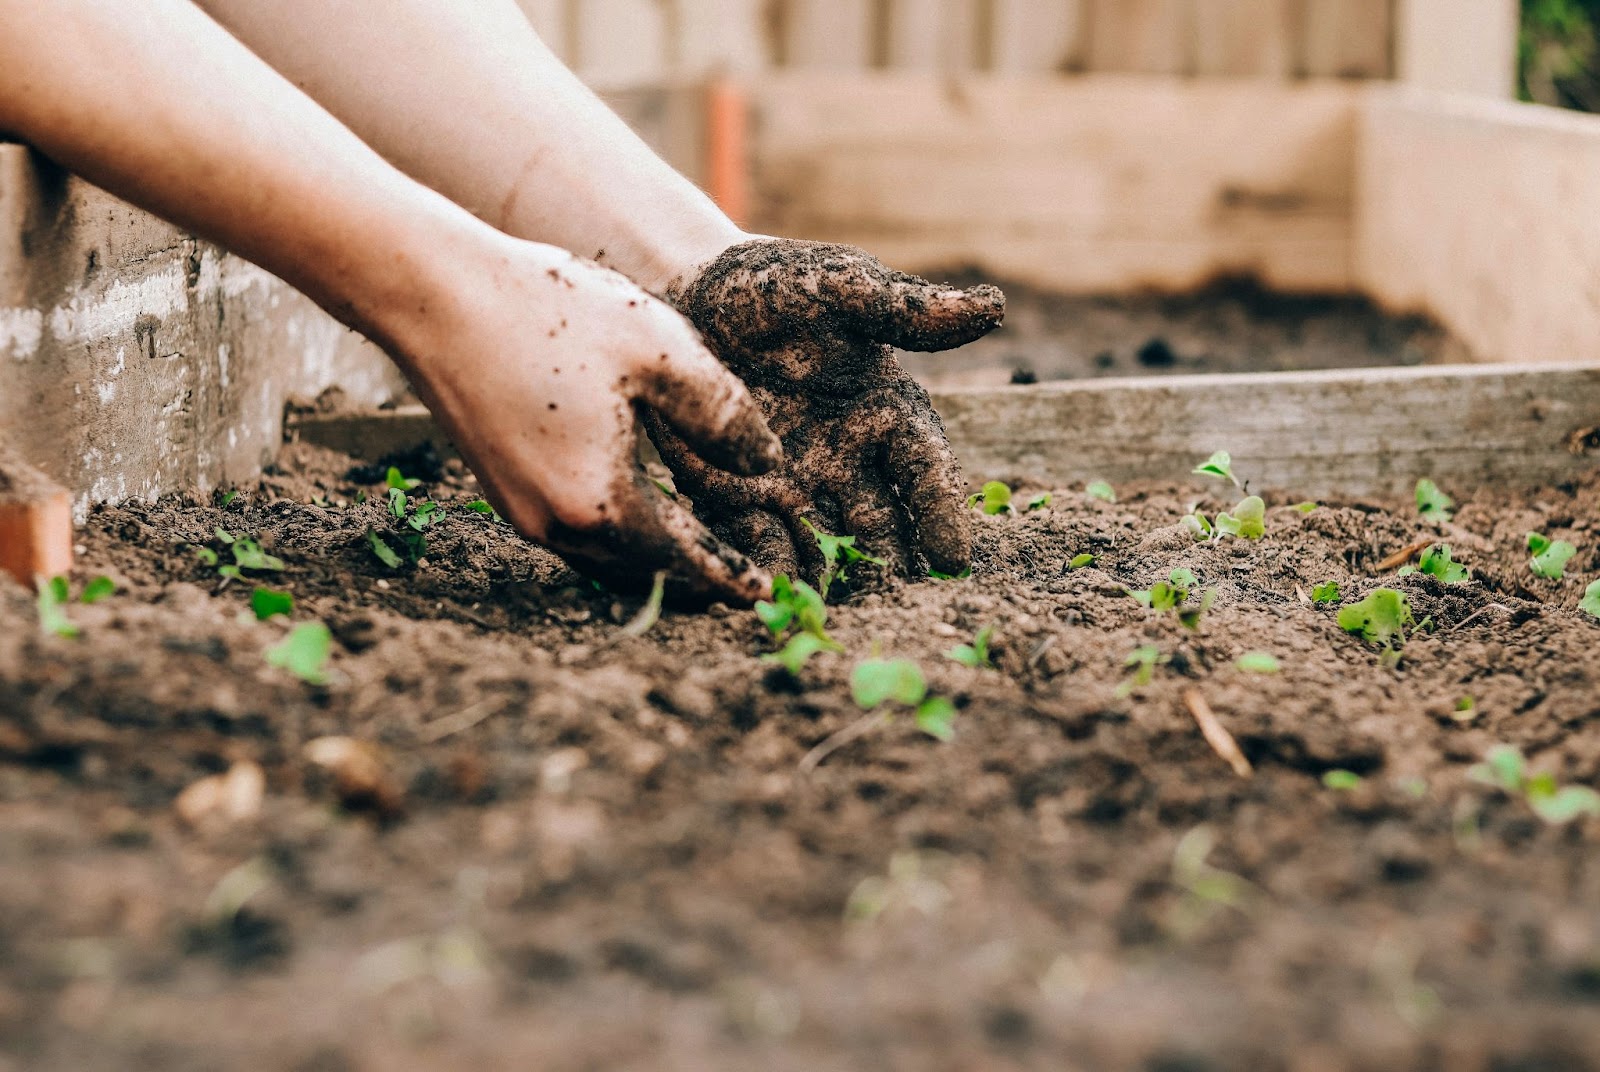
Amending the soil is one of the best methods which improve drainage and are necessary for good lavender health. Lavender plants prefer well-drained soil, and adding amendments like sand, gravel, or perlite can get this done. These amendments change the texture of the soil and result in more gaps to the air, making it drain excess moisture more efficiently. Without such modifications, water can become trapped in dense or clay-heavy soils, which is detrimental to lavender plants. The addition of soil amendments encourages proper drainage, preventing waterlogging that can lead to root rot and other fungal diseases.
How to Do It
To improve your garden soil for lavender, start by combining a suitable amendment such as sand, gravel, or perlite into the existing soil. A general rule of thumb is to mix about 1 part amendment to 3 parts garden soil. The amendments should be mixed well into the soil so that they are spread out evenly. This will ensure improved drainage throughout the soil, providing the lavender with an optimal growing environment. Be sure that the mixture is well-blended before planting, as lavender needs consistently well-draining soil to thrive.
Benefits
Using soil amendments helps with aeration and enhances root growth, creating a healthier environment for lavender to develop its roots. The improvement in drainage also prevents the pooling of excess water, which is one of the main causes of root rot. Additionally, amending the soil is a cost-effective and easy way to provide lavender with the ideal growing conditions, without requiring a lot of labor or materials. The overall result is a thriving, healthy lavender plant with strong roots and vibrant blooms.
DIY Drainage Trenches
The excess water surrounding your lavender can be managed well with drainage trenches. Water flow away from the root zone with the help of trenches, which will ensure your lavender gets just the right amount of moisture—it will not drown the roots yet provide enough for growth. It is especially helpful when there’s heavy rainfall or the soil holds too much water. The trenches allow for water to flow away from the roots, which further prevents waterlogging and root rot.
How to Do It
Begin by digging shallow ditches around your lavender plants to create DIY drainage trenches. The ditches should be 4-6 inches in depth but not necessarily in width, depending on the size of your garden. Fill them with gravel or small stones to allow the drainage of the water and its free passage through the material. Once the trenches are filled, cover them with a layer of soil or decorative mulch. This helps blend the trenches into your garden’s layout while still allowing excess water to flow freely.
Benefits
Drainage trenches help reduce the pooling of water around your lavender’s roots, ensuring that the plant doesn’t suffer from too much moisture. They are particularly helpful for managing heavy rainfall, ensuring that your lavender doesn’t get waterlogged. Additionally, trenches provide a natural aesthetic by adding a structured element to your garden design. This hack not only improves the health of your lavender but also contributes to the overall beauty and functionality of your garden.
Pot Planting with Drainage Holes
Good pots with holes in the bottom for drainage help prevent water from sitting at the bottom, which is bad for lavender. Being from arid climates with good-draining soils, water collecting in the bottom of the pot can easily lead to root rot. The drainage holes allow the excess water to leave the pot, just as in the plant’s natural habitat. This means that the roots are kept dry and healthy, but still receive enough moisture to promote healthy growth.
How to Do It
To plant lavender in a pot, begin with selecting a container with enough drainage holes at the bottom. This prevents water from gathering around the roots. Then place a layer of gravel or broken pottery pieces at the bottom of the pot to further improve drainage and prevent soil from clogging the drainage holes. After adding the gravel, fill with a well-draining soil mix, possibly a sandy, loamy mixture, and plant your lavender. Water sparingly and let it dry up in between to prevent overwatering.
Benefits
This is ideal for those who have limited space- it can be on the balcony, patios, or small gardens- and it’s flexible as the pots can be shuffled around to follow the sun’s path so that the lavender gets sufficient sunlight. In addition, owing to the nature of a pot, the ability to control overwatering and subsequent potential root rot that plague lunes in garden soil is definitely enhanced. With a pot, you can monitor the moisture levels closely and ensure that your lavender thrives without drowning in excess water.
Mulching with Gravel
The gravel mulch regulates the moisture in the area surrounding your lavender plants while allowing no water to collect at their roots. The organic mulches may rot over time, but gravel is a permanent, no-maintenance mulch that allows water to pass through it while keeping it from settling at the root system of the lavender plant, thus keeping the roots dry-like when it originally grows in its natural habitat in the Mediterranean with sandy and drained soils.
How to Do It
To mulch with gravel, begin by spreading a layer of gravel or small stones around the base of your lavender plants. Make sure the layer is about 2 inches thick, as this thickness is sufficient to regulate moisture while still allowing proper drainage. Gravel also helps to keep weeds at bay and adds a rustic charm to your garden. Replenish the gravel layer as needed, especially after heavy rainfall or over time as it may settle into the soil.
Benefits
Gravel mulch not only improves drainage but also enhances the overall look of your garden. It provides a rustic, natural aesthetic that complements the lavender’s purple blooms. The gravel helps to regulate soil temperature, keeping it cooler in the summer and warmer in the winter. Additionally, the layer of gravel prevents weed growth, which can compete with your lavender for nutrients and water. Lastly, the gravel helps to maintain soil moisture levels by preventing excessive evaporation, keeping your lavender plants hydrated during dry periods.
Creating a Rock Garden
Rock gardens naturally encourage excellent drainage, making them the ideal environment for lavender. Lavender, being native to rocky, well-drained hillsides in the Mediterranean, thrives in a rock garden setup. The stones create pockets of air that allow moisture to drain freely, while their irregular shapes and sizes prevent the roots from sitting in water. Rock gardens not only ensure optimal drainage but also provide an aesthetically pleasing backdrop for your lavender plants.
How to Do It
To create a rock garden for lavender, start by designing an area that incorporates a mix of large and small stones. Use these stones to form natural paths or borders, creating raised areas for your lavender to be planted. In between the stones, mix sandy soil with a bit of compost to provide the necessary nutrients without sacrificing drainage. Plant your lavender among the rocks, ensuring they have enough space to grow and spread. Water sparingly, as lavender does not require much moisture.
Benefits
Rock gardens mimic the lavender’s native environment, allowing for low-maintenance care and vibrant growth. The rocks allow for better air circulation and drainage, ensuring that your lavender is not overwatered. Additionally, rock gardens are visually appealing and can serve as a striking feature in your landscape. This method is particularly beneficial for sloped areas, where natural drainage is better, allowing water to flow freely away from the roots. It’s a great way to grow lavender in an area with poor soil drainage.
Incorporate Organic Mulch
Organic mulch such as bark, straw, or shredded leaves provides a natural method of retaining moisture while enhancing the drainage of the soil surrounding your lavender plants. The organic matter decomposes, enriching the soil with nutrients. This ensures that the lavender plants are healthier and stronger but do not have the risk of retaining too much moisture in the soil. Organic mulch is also very effective in keeping the soil insulated to an ideal temperature for the root system of the lavender plant.
How to Do It
Sprinkle a thin layer of mulch around the base of your lavender plants to incorporate organic mulch into your application. Keep the mulch layer from being piled directly against the stems, as this can encourage rot. A 2-3 inch layer is sufficient. Mulch will become ineffective if it is not reapplied after rainfall or heavy watering, so reapply the mulch throughout the season as necessary. Eventually, it will break down and contribute valuable organic matter to your soil.
Benefits
Organic mulch retains moisture when the soil dries out and prevents overwatering of your lavender. This mulch enhances the structure of the soil to allow for more efficient drainage and root growth. As the organic mulch breaks down, it replenishes nutrients in the soil, which will enhance the overall health of the lavender plants. Organic mulch is a renewable and environmentally friendly choice that can benefit both the lavender and the garden environment around it.
Conclusion
Incorporating proper drainage is essential for lavender’s growth and overall health. Whether you opt for raised garden beds, soil amendments, drainage trenches, or pot planting with drainage holes, each of these hacks ensures that your lavender roots remain free from excess moisture, mimicking its natural Mediterranean environment. Gravel mulch and rock gardens further enhance drainage, providing both aesthetic appeal and functionality. In addition, organic mulch provides the ecological retention of moisture and soil enrichment. With these DIY drainage hacks, you shall be able to devise a perfect growing environment for your lavender, which will bloom and flower exquisitely with a lovely fragrance. With proper care and attention, your lavender will live a life of beauty and fragrance in your garden for years to come.