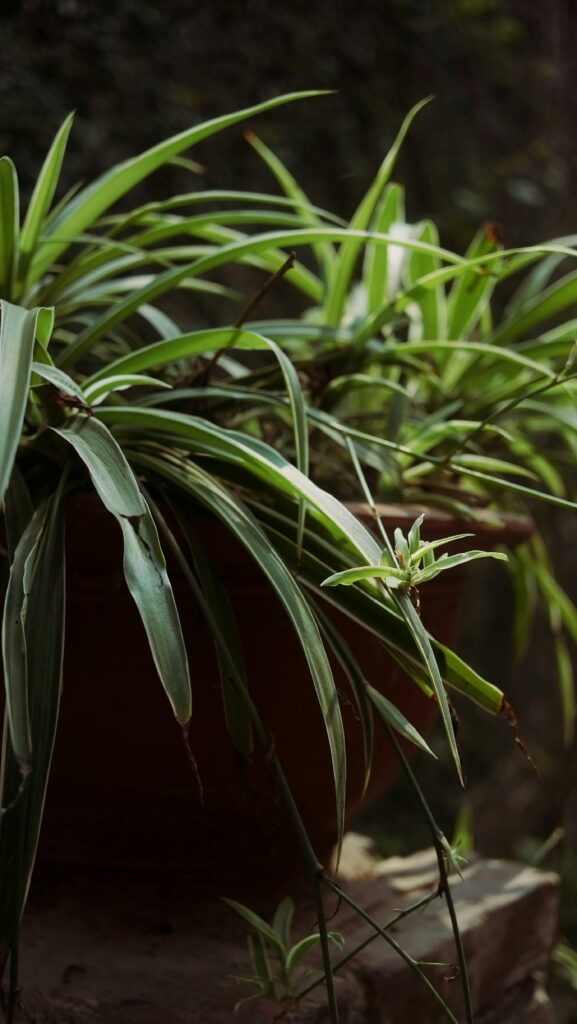
Spider plants (Chlorophytum comosum) are beloved for their arching green leaves, low-maintenance nature, and adorable little offshoots—often called “babies” or “pups.” These baby spider plants are a fantastic way to expand your indoor jungle or share the love with fellow plant enthusiasts. If you’ve noticed your spider plant producing these tiny clones, you might be wondering how to separate and care for them. Don’t worry—this guide will walk you through every step with ease!
Why Spider Plant Babies Are So Special
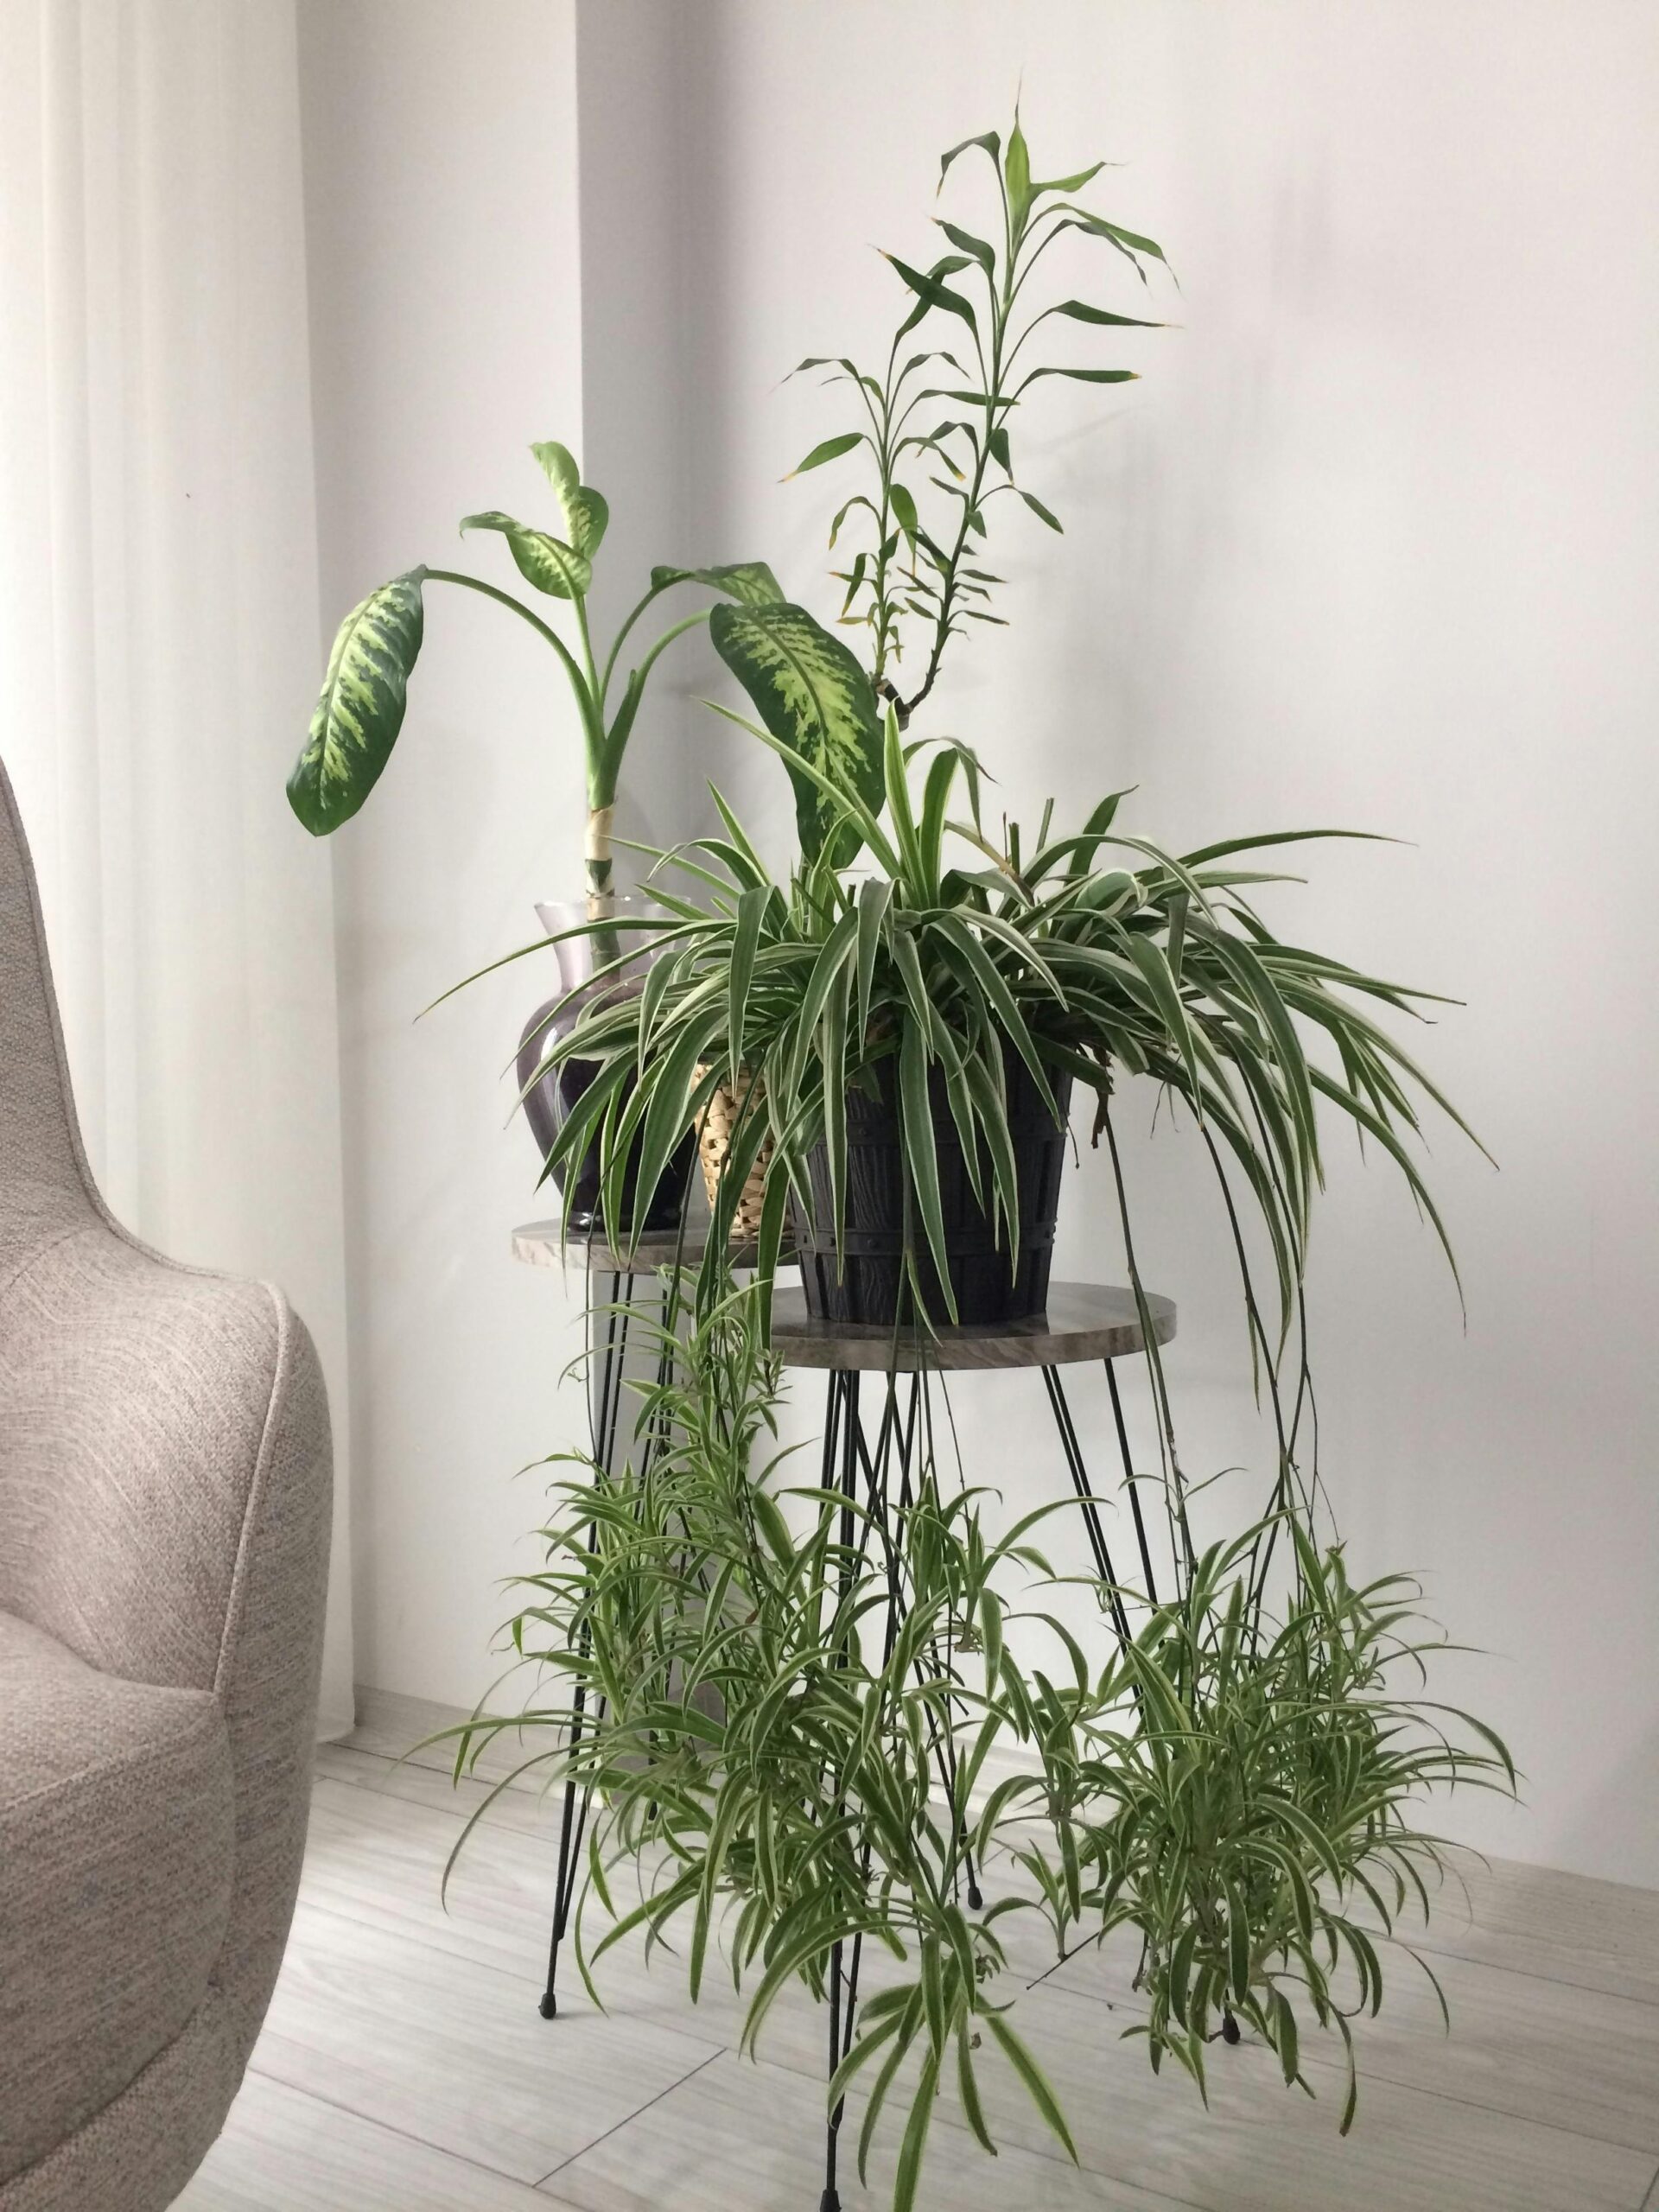
Spider plants are natural propagators. Those dangling pups are mini versions of the mother plant, complete with their own tiny roots. Separating them not only gives you more plants but also keeps the parent plant healthy and thriving. Plus, it’s a fun, rewarding project for any gardener—beginner or expert. Ready to get started? Let’s dive into the process of separating and caring for baby spider plants!
Know When to Separate Baby Spider Plants
Timing is key when it comes to propagating spider plants. Look for these signs that the babies are ready to leave the mother plant: 
- Small Roots: The pups should have tiny white roots (about 1–2 inches long) growing from their base.
- Healthy Leaves: The baby should have a few sturdy, green leaves of its own.
- Mother Plant Health: Ensure the parent plant is strong and not stressed—separating pups from a weak plant can slow its recovery.
Spring or summer is the ideal time for this task, as spider plants grow most actively during these seasons. However, indoor plants can often be propagated year-round with proper care.

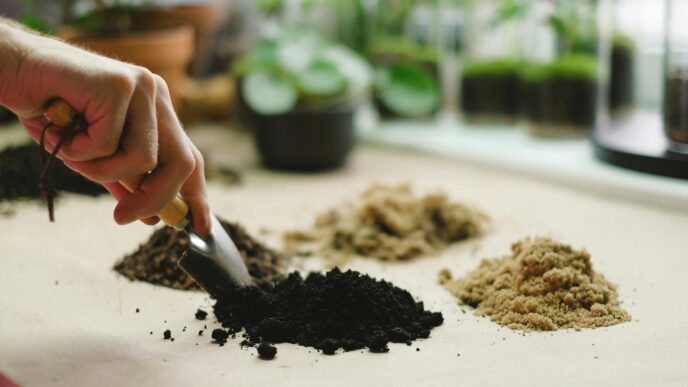
Gather Your Supplies
Before you start snipping, gather these simple tools:
- Clean, sharp scissors or pruning shears
- A small pot (4–6 inches wide) with drainage holes
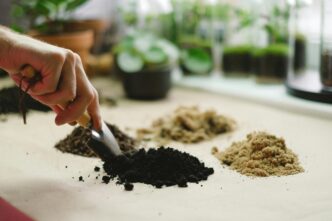
- Well-draining potting soil (a mix for houseplants works great)
- A watering can or cup
- Optional: rooting hormone (to speed up root growth)
Having everything ready makes the process smooth and stress-free for both you and your plants.
Separate the Baby Spider Plants
Here’s how to safely remove those pups from the mother plant:
- Locate the Babies: Find the spider plant pups hanging from long, slender stems (called stolons).
- Cut Carefully: Using your scissors, snip the stolon close to the base of the baby plant. Leave a small stump on the pup if it doesn’t have roots yet—this helps with rooting later.
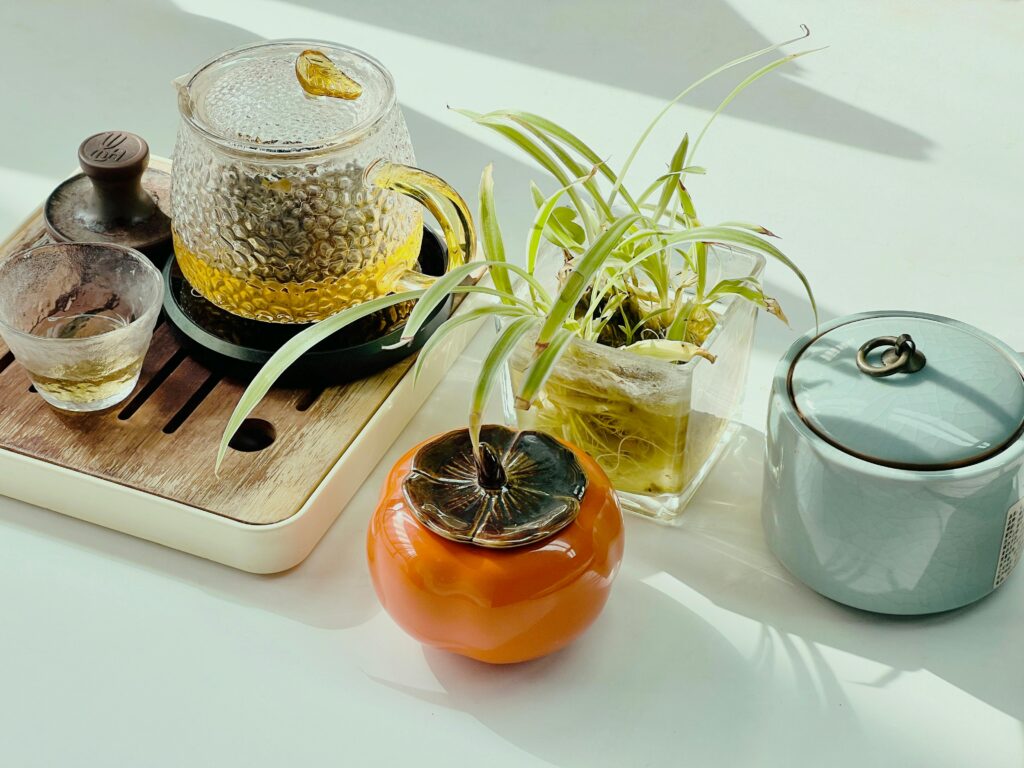
- Check the Roots: If the pup already has roots, you’re ready to plant. If not, don’t worry—you can root it in water or soil (more on that below).
Be gentle during this step. The mother plant won’t mind losing a few babies, but rough handling can damage the pups.
Rooting Baby Spider Plants (Two Easy Methods)
Spider plant babies are super adaptable, and you have two great options for rooting them: water or soil.
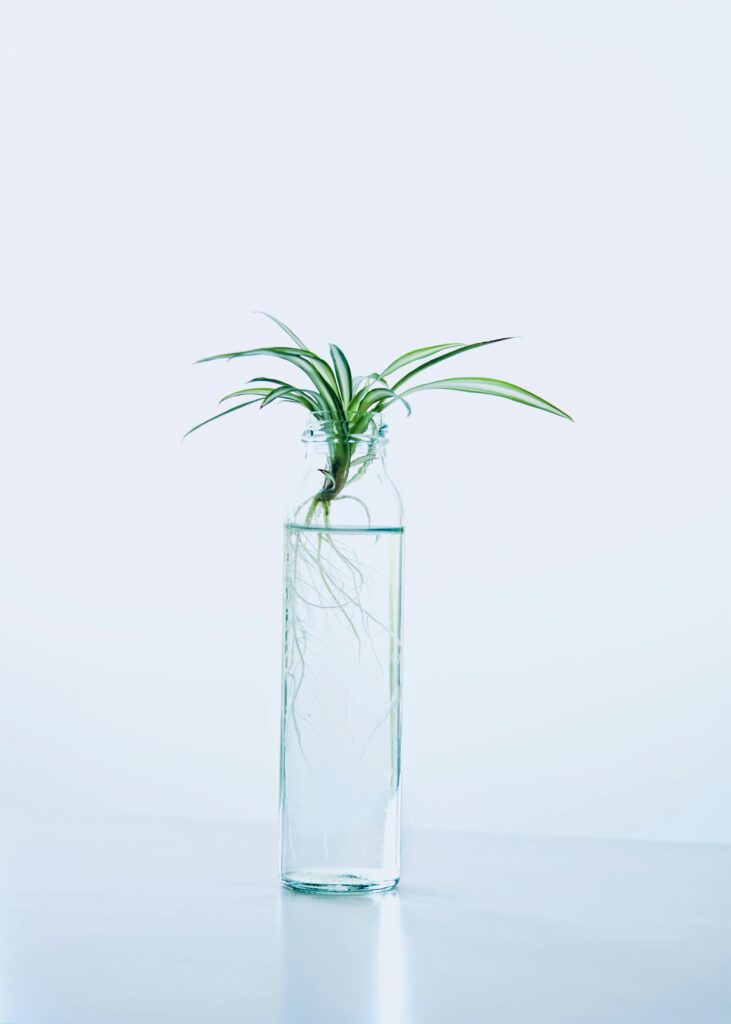
Rooting in Water
- Place the pup in a small glass or jar of water, ensuring the roots (or base) are submerged but the leaves stay dry.
- Set it in a bright spot with indirect sunlight.
- Change the water every few days to keep it fresh.
- In 7–14 days, the roots will grow stronger. Once they’re about 2 inches long, move the pup to soil.
Rooting in Soil
- Fill your pot with well-draining potting soil.
- Make a small hole and gently place the pup’s roots (or base) into it.
- Press the soil lightly around the plant and water it just enough to moisten the soil.
- Keep the soil slightly damp but not soggy for the first few weeks.
Both methods work like a charm—choose whichever fits your gardening style!
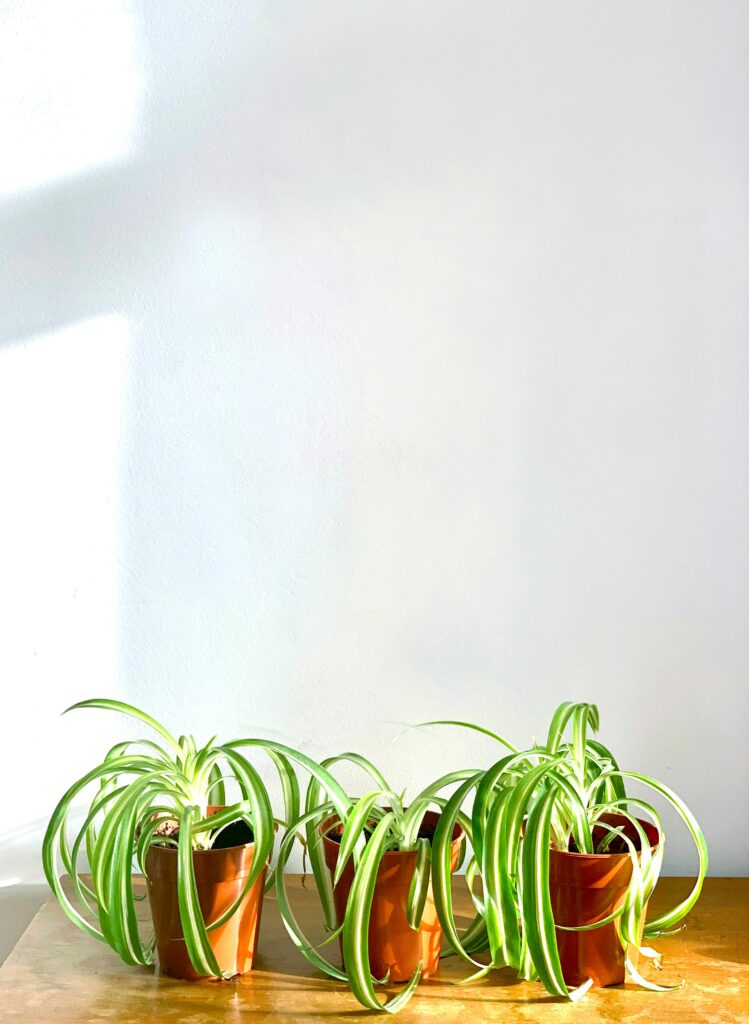
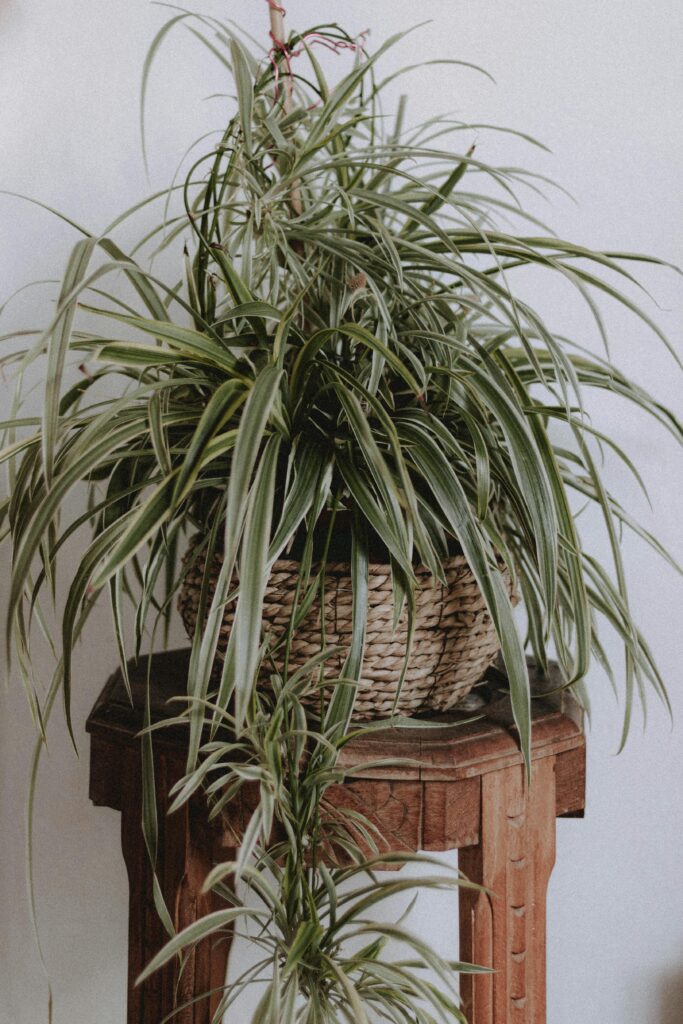
Care for Your New Spider Plant Babies
Once your baby spider plants are potted, they need a little TLC to thrive. Here’s how to care for them:
- Light: Place them in bright, indirect sunlight. A north- or east-facing window is perfect. Too much direct sun can scorch their delicate leaves.
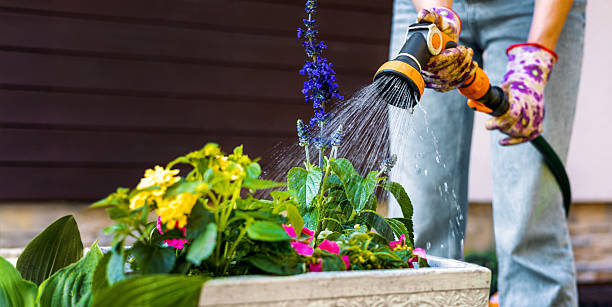
- Watering: Water when the top inch of soil feels dry. Spider plants hate soggy roots, so let excess water drain out of the pot.
- Humidity: They enjoy average household humidity but will perk up with an occasional misting, especially in dry winters.
- Temperature: Keep them in a cozy spot between 60–75°F (15–24°C).
- Fertilizer: Feed them once a month during spring and summer with a diluted, balanced houseplant fertilizer (like 10-10-10). Skip feeding in fall and winter.
With these simple care tips, your spider plant pups will soon grow into lush, cascading beauties!
Troubleshooting Common Issues
Even easy-going spider plants can hit a few bumps. Here’s what to watch for:
- Brown Tips: This often means overwatering or low humidity. Trim the tips and adjust your care routine.
- Yellow Leaves: Too much direct sun or poor drainage could be the culprit. Move the plant and check the soil.
- Slow Growth: If your pup isn’t thriving, ensure it’s getting enough light and isn’t sitting in soggy soil.
Patience is key—spider plants are resilient and usually bounce back with a little tweaking.
Enjoy Your Growing Spider Plant Family!
Separating and caring for baby spider plants is a delightful way to multiply your greenery. Whether you keep them for yourself, gift them to friends, or create a cascading display, these little pups bring joy to any space. Have fun watching them grow, and soon, they’ll be producing babies of their own!
Got questions about your spider plants? Drop them in the comments below—I’d love to help you nurture your indoor garden!